Temperature Sensor With LED 7 Steps Circuit Diagram Or you can touch the sensor with an ice cube, preferably in a plastic bag so it doesn't get water on your circuit, and see the temperature/voltage drop. (See image below) Connecting to your temperature sensor These sensors have little chips in them and while they're not that delicate, they do need to be handled properly.
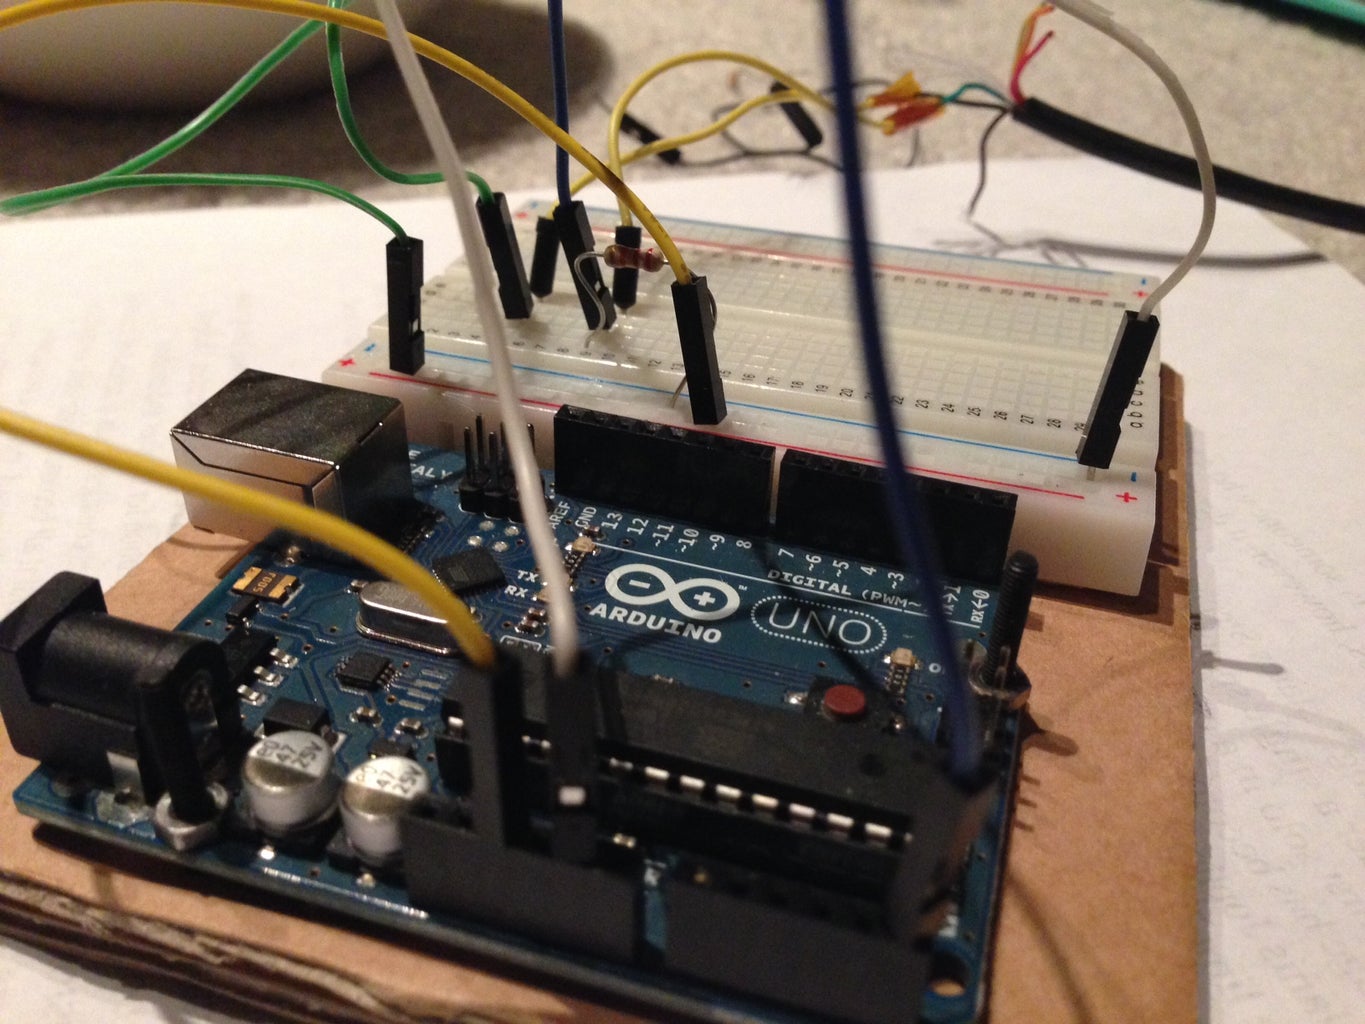
In this Video We Make a Temperature Sensor Circuit Using Thermistor. the Temperature Sensor is Used in Many Electronic Applications Like Temperature compensa The temperature sensor circuit we will build is shown below: This translates into the circuit schematic: So you circuit connections are: Pin 1 of the LM335 is unconnected Pin 2 of the LM335 goes into analog pin A0 of the arduino Pin 3 of the LM335 goes into ground (GND) of the arduino.

How to Build a LM335 Temperature Sensor Circuit Circuit Diagram
The temperature sensor circuit we will build is shown below: This translates into the circuit schematic: So you circuit connections are: Pin 1 of the TMP36 goes into +5V of the arduino Pin 2 of the TMP36 goes into analog pin A0 of the arduino

Using basic electronic sensors, we can build our own heat detector. The main component, which is the LM35DZ temperature sensor, is used to measure the current room temperature.Based on the measurement, the detector will warn the user using other sensors such as the buzzer and the LED to indicate whether the room temperature exceeds the limit. This tutorial explains what kind of equipment we

Temperature Sensor Tutorial! : 5 Steps (with Pictures) Circuit Diagram
In this tutorial, we are making a project of a Simple temperature sensor circuit. This circuit activates an LED when it senses or receives heat so you can also call this circuit a heat sensor circuit. Apart from its uses, If you are a beginner who just wants to make an easy and interesting project this circuit is ideal for you. Where, T is the temperature in Kelvins. R is the resistance of the thermistor at T (in Ohms). A, B and C are the Steinhart-Hart coefficients.. To solve this equation you need to know the value of the three constants - A, B, and C. These constants will vary depending on the type and model of the thermistor and the temperature range of interest. A Basic Thermistor Circuit. Let's build a basic thermistor circuit to see how it works, so you can apply it to other projects later. Since the thermistor is a variable resistor, we'll need to measure the resistance before we can calculate the temperature. However, the Arduino can't measure resistance directly, it can only measure voltage.